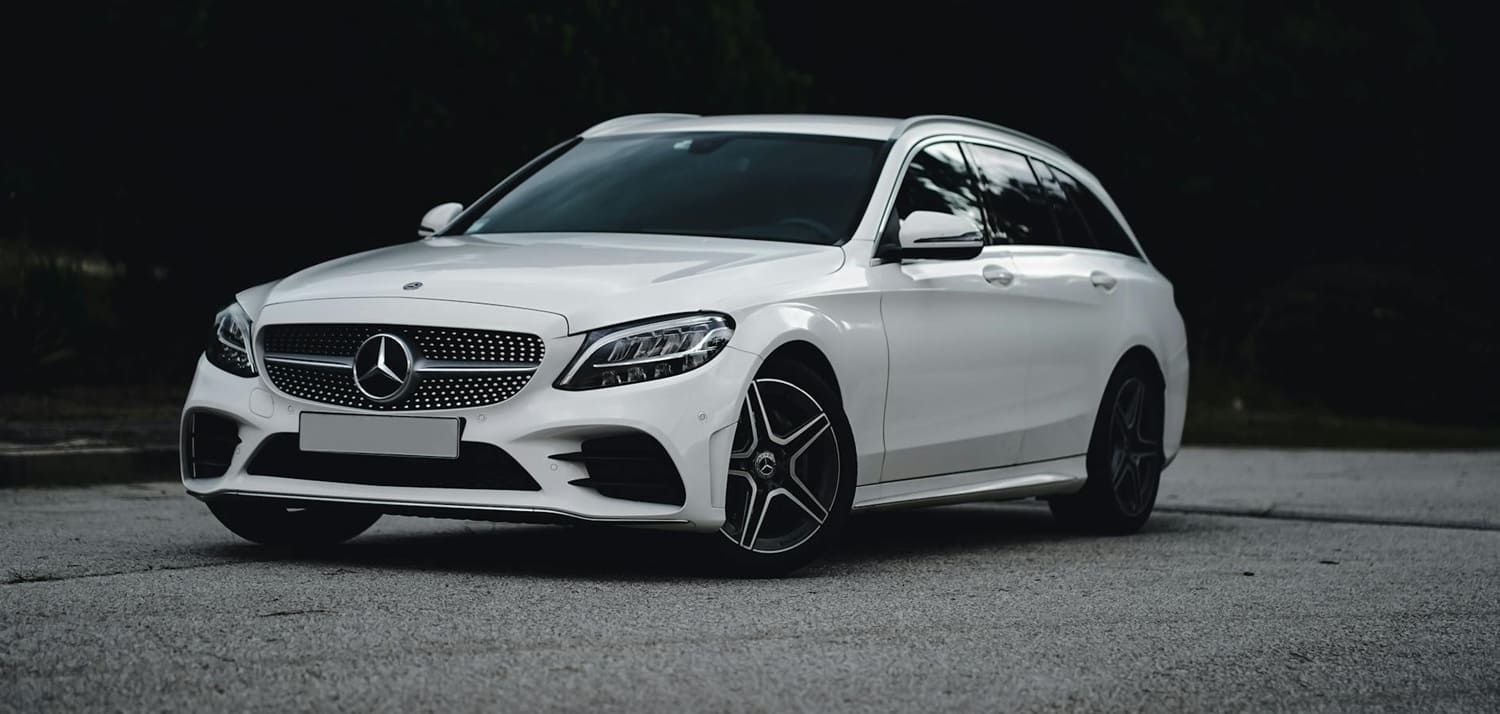
What Are the Most Common Tinting Mistakes?
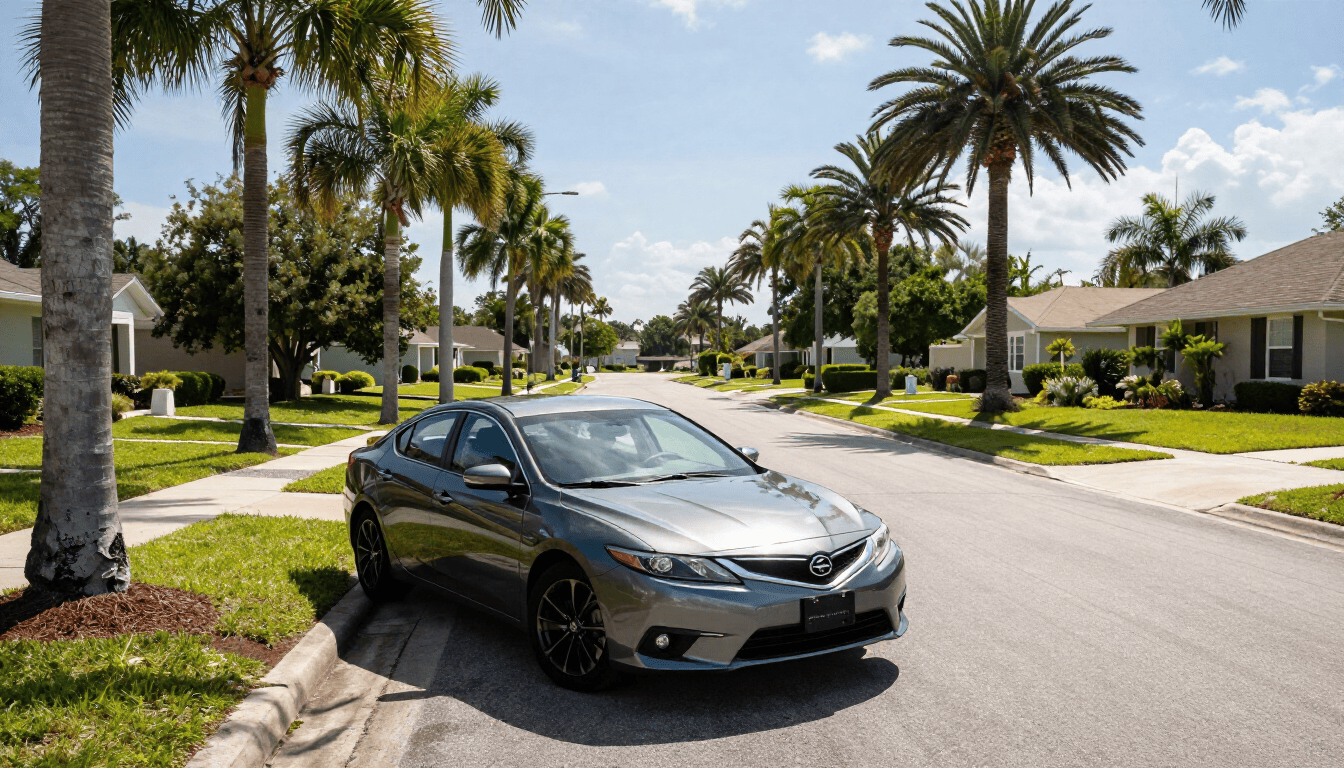
Window tinting can be a fantastic way to enhance the look and comfort of your vehicle. It offers a range of benefits from UV protection to improved privacy. However, achieving the perfect tint isn't as simple as it seems. Many people, whether opting for DIY or professional services, often encounter common mistakes that can affect the quality and longevity of the tint. In this article, we'll explore these typical errors and how you can avoid them to ensure your tint job is both effective and long-lasting.
Tinting your vehicle’s windows not only augments its aesthetic appeal but also serves practical purposes. It's an investment that offers protection against harmful UV rays, reduces glare, and helps maintain a cooler interior. Despite these benefits, the process involves several nuances that need careful attention. Missteps in tinting can lead to poor results and additional expenses, hence understanding the common pitfalls is crucial for anyone considering this enhancement.
Before delving into the common mistakes, it's essential to recognize the value of professional tinting services. While DIY kits are available and might seem like a cost-effective option, they often don't match the quality and precision of a professional job. Experts have the tools, experience, and materials to provide a flawless finish that enhances your car's appearance and performance.
Professional tinting services often include warranties that cover peeling, bubbling, and fading, offering peace of mind that a DIY approach may not. The expertise of a seasoned professional ensures that the tint is applied evenly and adheres properly to the glass, reducing the risk of imperfections. Additionally, professionals are aware of the latest trends and technologies in tinting materials, ensuring that you benefit from the most advanced products available.
Choosing the Wrong Tint Type
One of the most frequent mistakes is selecting the wrong type of tint for your needs. Tints come in various materials, including dyed, metallic, and ceramic, each with its unique properties. Dyed tints are typically the most affordable but may fade over time. Metallic tints offer better heat rejection but can interfere with electronic signals. Ceramic tints are the premium choice, providing excellent heat rejection without signal interference. Understanding these differences can help you make an informed decision.
The choice of tint should be based on your specific needs, such as climate, privacy preference, and budget. For instance, if you live in a hot climate, a tint with high heat rejection properties would be beneficial. On the other hand, if you prioritize electronic signal clarity, avoiding metallic tints would be wise. Consulting with a professional can guide you in selecting a tint that aligns with your lifestyle and environmental conditions, ensuring you reap the maximum benefits.
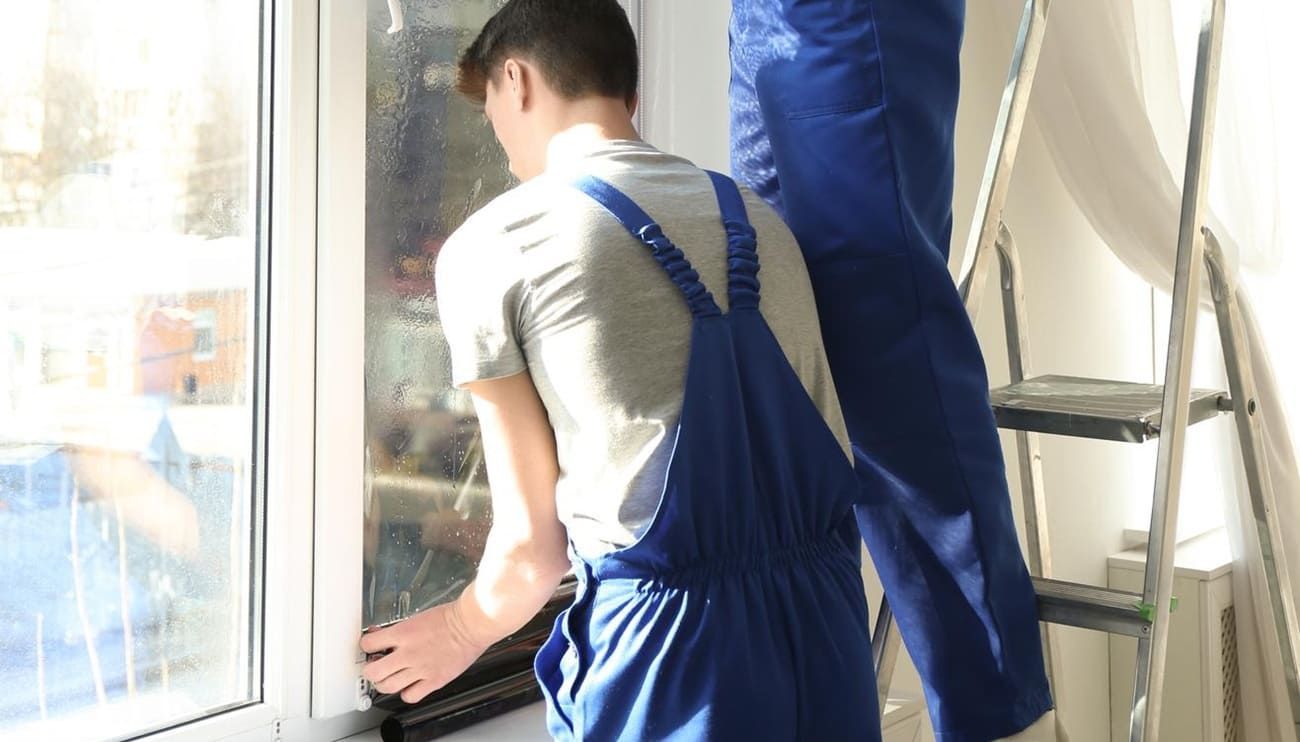
Inadequate Window Preparation
Preparation is key to a successful tint job. Many DIY enthusiasts and even some professionals overlook the importance of thoroughly cleaning and prepping the windows before application. Any dirt, dust, or grease on the glass can cause bubbles and imperfections in the tint. It's crucial to clean the windows meticulously and ensure they are completely dry before starting the tinting process.
A clean surface not only ensures a smooth application but also contributes to the longevity of the tint. Neglecting this step can lead to costly reapplications and diminish the overall appearance of your vehicle. Using the right cleaning solutions and techniques can make a significant difference. For instance, using a lint-free cloth and a gentle cleaner can help remove all residues, providing a pristine surface for the tint to adhere to.
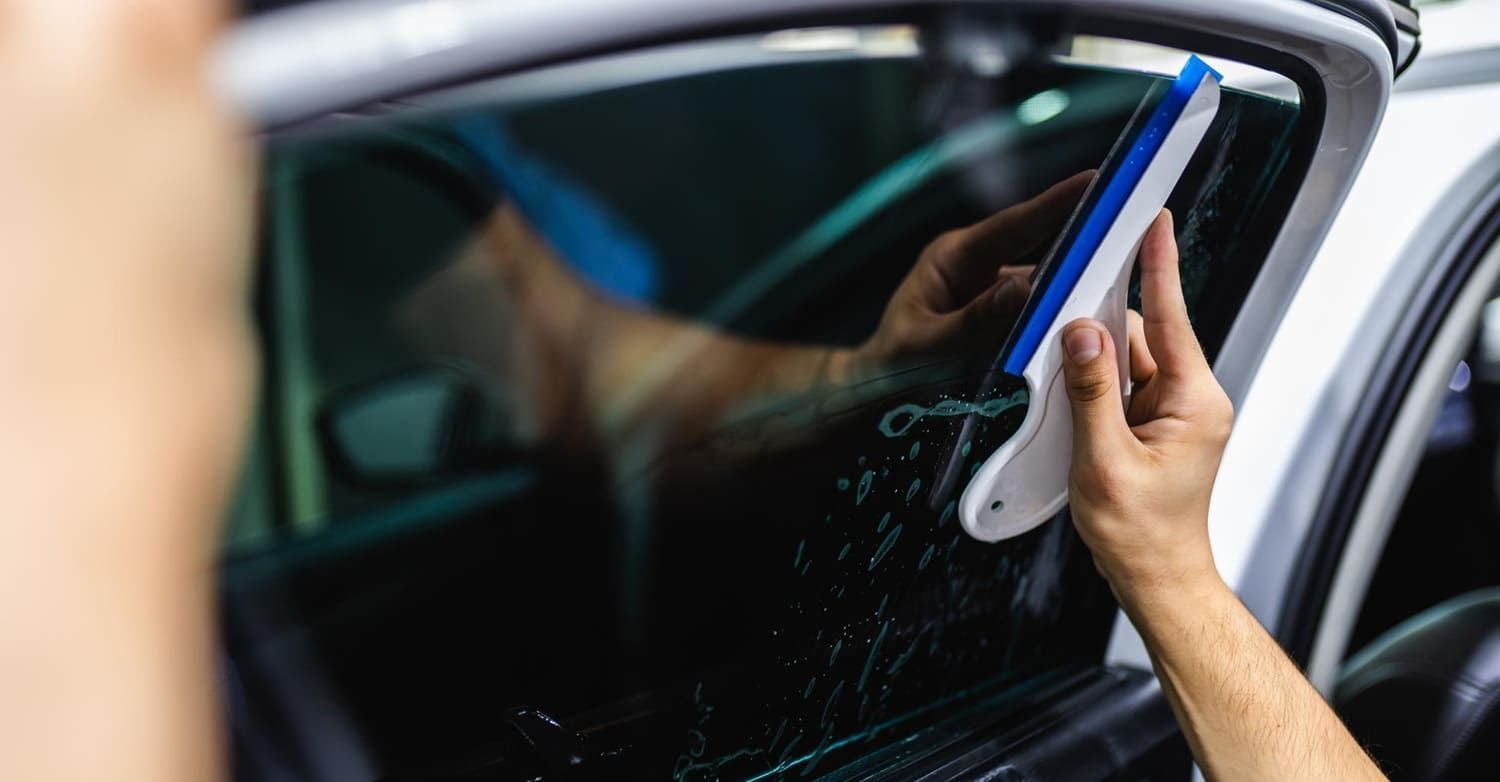
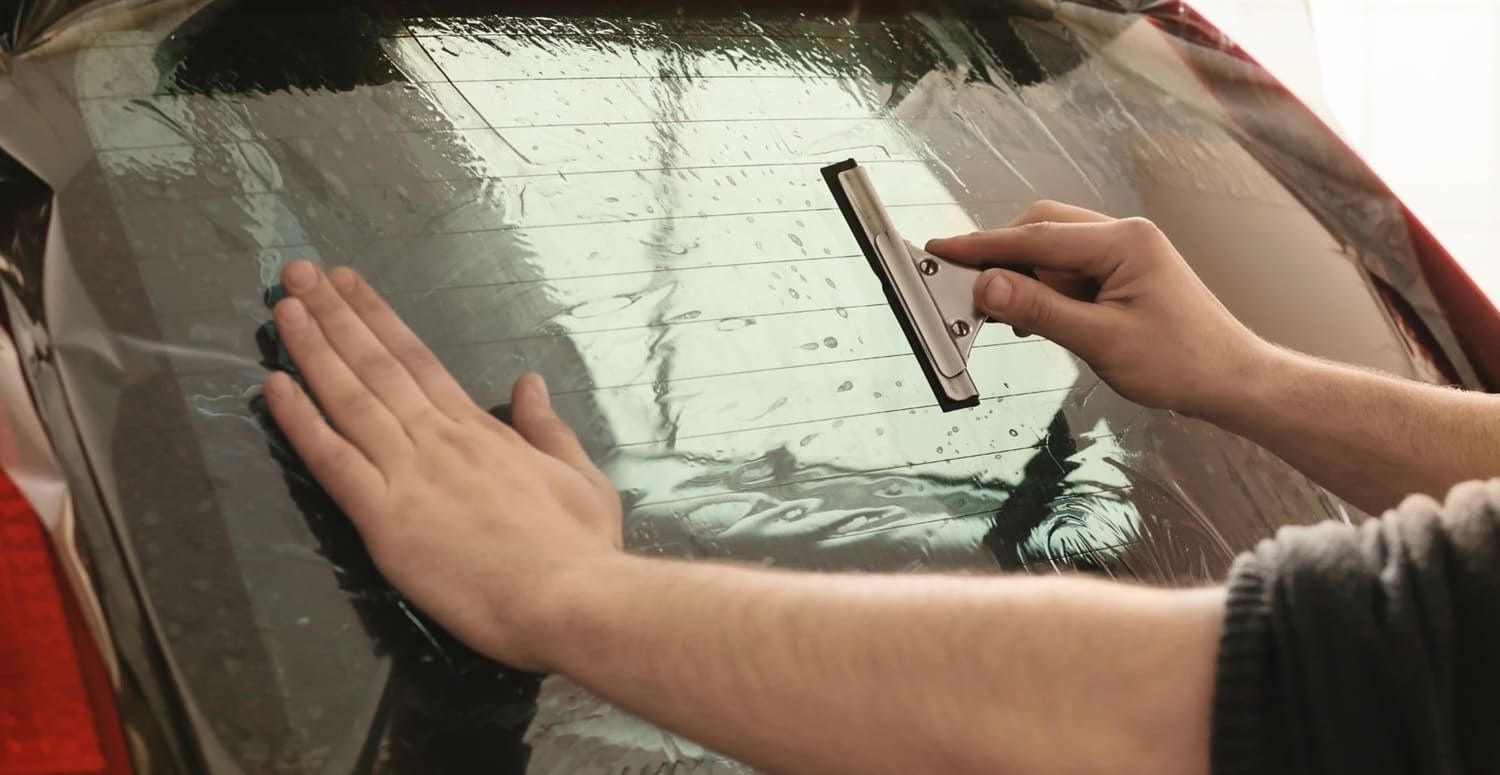
Incorrect Application Techniques
Applying tint requires precision and patience. Rushing through the process or using improper techniques can lead to several issues:
- Bubbles and Creases: Air bubbles and creases are common problems that occur when the tint film is not applied smoothly. Using a squeegee to carefully smooth out the film during application can help prevent these issues.
- Misalignment: Another common error is misaligning the tint film. This often happens when measurements aren't accurate or when the film is not properly adjusted before being adhered.
- Cutting Errors: Cutting the tint film to the exact size and shape of the window is crucial. Errors in cutting can lead to gaps or overlaps, which not only look unsightly but can also affect the tint's performance.
Developing the skill to apply tint correctly can take time and practice. Even a small oversight can lead to significant issues, such as peeling or premature wear. Professional installers are trained to avoid these mistakes, using precise measurement tools and techniques to ensure a perfect fit. For those attempting a DIY job, watching tutorials and practicing on smaller windows first can be beneficial. Patience and attention to detail are key to achieving a flawless finish.
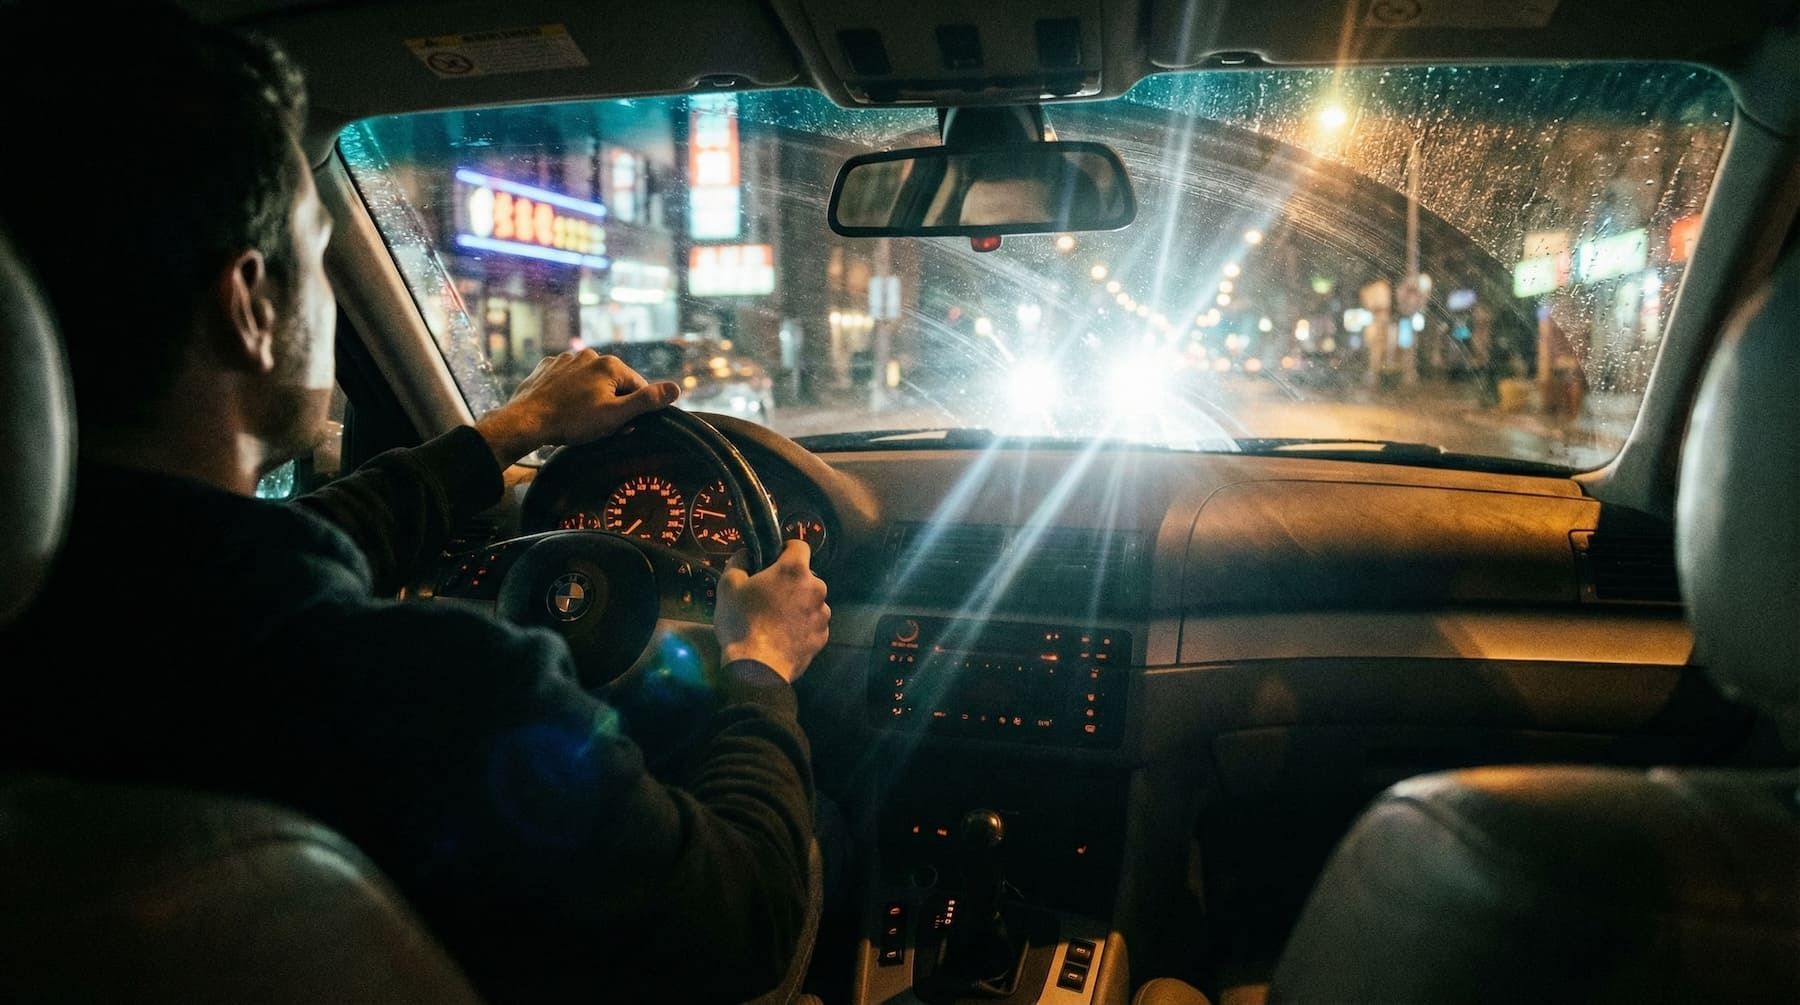
Ignoring Local Tinting Laws
Each region has specific laws regarding the darkness and reflectivity of car tints. Ignoring these regulations can result in fines and the need to remove or replace the tint. Before proceeding with a tint job, it's essential to research and understand the local laws to ensure compliance.
Regulations regarding window tinting can vary significantly from one area to another, with some regions having stricter rules than others. These laws are in place to ensure safety, as overly dark tints can reduce visibility, especially at night. Consulting local DMV or transportation websites can provide the necessary information. Ensuring your tint complies with these standards will save you from legal issues and potential fines.
Skipping Post-Application Care
Once your tint is applied, the job isn't over. Proper post-application care is vital for maintaining the integrity of the tint. This includes:
- Avoiding Rolling Down Windows: It's important not to roll down the windows for at least 24 to 48 hours after application to allow the tint to properly adhere to the glass.
- Cleaning with the Right Products: Use a soft cloth and a non-ammonia-based cleaner to clean tinted windows. Harsh chemicals can damage the film and reduce its lifespan.
Post-application care is crucial in ensuring the longevity of your tint. Adhering to these care instructions helps the tint cure properly, preventing issues like peeling or bubbling. Regular maintenance, such as cleaning with appropriate products, not only preserves the tint's appearance but also its performance. By following these guidelines, you can enjoy the benefits of your tint for years to come without unnecessary wear and tear.
Overlooking Professional Recommendations
Even if you decide to go the DIY route, consulting with a professional can provide valuable insights. Professionals can recommend the best tint for your specific needs, offer tips on application, and help you avoid common pitfalls.
Seeking professional advice can provide clarity on the complexities of window tinting, from choosing the right material to understanding legal requirements. Professionals are well-versed in the latest innovations and can offer solutions that you might not have considered. Their experience can be invaluable in ensuring a successful tint job, whether you decide to proceed with professional installation or tackle the project yourself.
Focusing Solely on Price
While cost is a significant consideration, opting for the cheapest option is not always the best strategy. Low-cost tints often use inferior materials that can fade or peel quickly. Investing in a quality tint from a reputable provider ensures durability and performance, saving you money in the long run.
When evaluating tint options, consider the overall value rather than just the initial cost. Quality materials may have a higher upfront price but will offer better performance and longevity. In contrast, cheap alternatives can result in frequent replacements and repairs. It's important to view window tinting as a long-term investment in your vehicle's appearance and comfort, making it worthwhile to invest in quality products and services.
Conclusion
Window tinting, when done correctly, can significantly enhance the functionality and aesthetic of your vehicle. By understanding and avoiding these common tinting mistakes, you can ensure a smooth, professional-looking finish that stands the test of time. Whether you choose to DIY or hire a professional, taking the time to do it right will pay off in both appearance and performance.
At Flying Window Tinters — the best window tinting installers serving Longwood, FL — we’re here to ensure your tinting job is done right the first time. Contact us today for a free estimate and experience the difference of expert craftsmanship and premium materials.
Frequently Asked Questions About Common Window Tinting Mistakes and How to Avoid Them
What’s the most common mistake when tinting car windows?
The most frequent mistake is improper surface preparation. Applying tint film to dirty, dusty, or oily windows can cause bubbling, poor adhesion, or uneven results that reduce both aesthetics and durability.
Can I apply window tint myself without issues?
DIY tinting kits often lead to visible creases, trapped air bubbles, or misalignment. Without proper tools and experience, it’s difficult to achieve the smooth, professional look that certified installers provide.
Why does window tint sometimes peel or fade quickly?
Cheap film materials or poor installation are usually to blame. Low-quality tint lacks UV protection and adhesive strength, which can cause peeling, bubbling, and discoloration in just a few months of exposure.
Is choosing a darker tint always better?
Not necessarily. Many car owners go too dark without checking local tint laws. This can result in legal issues, reduced nighttime visibility, and safety hazards — especially when driving at night or in poor weather conditions.
How does rushing the installation process cause problems?
Tint film requires careful, gradual application. Rushing through the process can cause stretching, misalignment, or permanent creases. Professional installers know how to properly squeegee and cure the film to prevent these issues.
What happens if you roll down the windows too soon?
Rolling down your windows before the tint has fully cured — usually within 48 to 72 hours — can cause peeling or misalignment. Always follow the installer’s post-care instructions to ensure the film sets correctly.
Can poor-quality film damage the glass or defroster lines?
Yes. Cheap or improperly applied tint may bond too tightly or unevenly, which can damage rear window defroster lines during removal. This is why professional film and installation are strongly recommended.
How can I ensure I avoid these common tinting mistakes?
The best way to avoid costly tinting mistakes is to trust experienced professionals. At Flying Window Tinters, we use only premium-grade window films and offer expert installation at all three of our locations. Call us at (407) 695-8468 to get a quote or schedule your service today.